How a DIYer Elevated IKEA IDANÄS Cabinets to Chic Built-ins
Megan wanted a more organized and visually appealing bar area. The existing setup didn’t provide enough storage, prompting her to take on this DIY project.
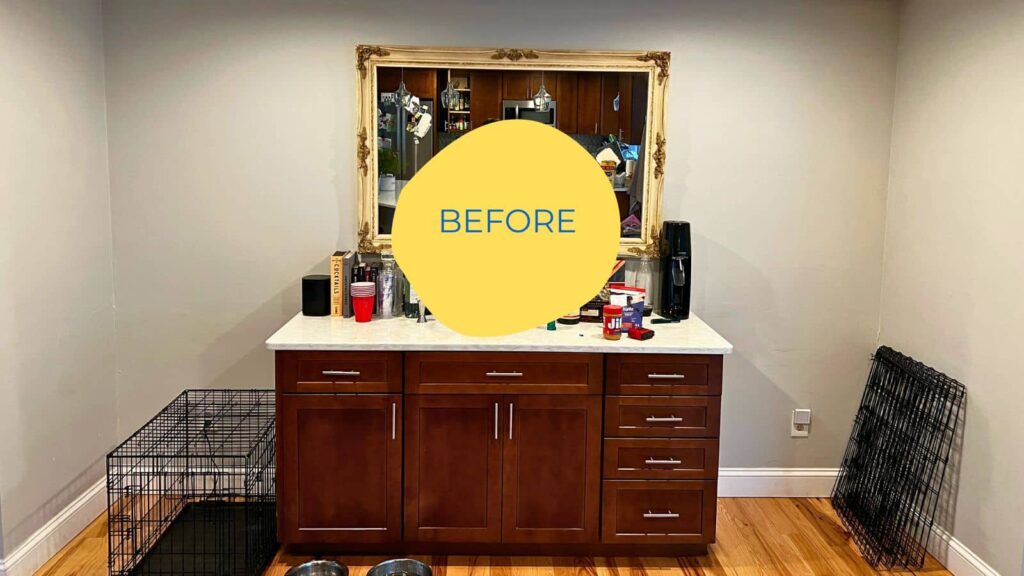
“We had a cabinet sideboard attached to a wall adjacent to our kitchen that we were using as a bar,” she explained. “I didn’t love that the booze was sitting out. The space on either side was empty, and we desperately needed more storage in general, so I decided to attempt an IKEA hack.”
She searched IKEA and landed on the IDANÄS glass cabinet. The dimensions seemed to fit the space and opened up the possibilities. Once she settled the measurements, she worked out her built-in bar cabinet project in Photoshop.
In this tutorial, Megan shares the step-by-step process of her IKEA hack. Follow along if you’re looking to embark on a similar project.
Materials and Tools
IKEA Items: IKEA IDANÄS glass cabinet with 1 drawer x 2
Other Materials: Framing lumber, lattice lumber, crown, shoe, and baseboard molding, plywood, primer, paint, 120 grit sandpaper, Liquid Nails, caulk, outlet box extender
Tools: Brad nailer, miter saw, jigsaw, coping saw, drill, 90-degree angle drill bit, caulk gun
IKEA IDANÄS glass cabinet hack:
Measure and Plan:
Start by measuring the space to ensure the cabinets fit. Megan had a 34″ wide space on each side of her existing bar/ cabinets. Besides the IDANÄS, other IKEA cabinets that make awesome bar cabinets include the HEMNES cabinet, LOMMARP cabinets, and BILLY bookcases.
Adjust Heights:
Determine if any height adjustments are needed. In Megan’s case, she used a miter saw to trim the legs by 2″ for a perfect fit. At the same time, use a jigsaw to make any necessary holes and openings for cables and wires.
Assembly:
Assemble each unit until you reach the step for doors and shelves, then push them into place.
Create a “Box” on Top:
Add a “box” on top of each unit to reach the ceiling. This involves building a frame and attaching a plywood rectangle to each exposed side.
Frame and Molding:
Frame the units as needed to achieve a built-in look. Add crown, shoe, and baseboard molding for a polished finish.
Finish and Paint:
Fill nail holes, prime, caulk, and paint. This step is crucial for achieving a professional and cohesive look.
How long and how much did it cost?
The project took just under two weeks and cost an estimated $1.2k.
What do you like most about the hack?
Megan enjoyed the creative process, especially when an injury kept her from her primary stress reliever—running. The satisfaction of turning her Photoshop vision into reality was a significant win.
Challenges Faced?
Uneven ceilings and walls proved challenging. Additionally, being short, navigating a floor-to-ceiling build required extra effort.
What to pay special attention to?
When framing along the sides, be mindful of the decorative molding on top of the IKEA IDANÄS unit. It requires careful navigation for a seamless integration.
Megan is chuffed that she pulled this off. Looking back, she’s thankful for caulk‘s ability to fix her many mistakes. In hindsight, she could have re-used the baseboard molding instead of buying it new.
In the end, Megan’s successful IKEA IDANÄS hack transformed her space and provided much more storage. The bonus was that the bar area seamlessly blended with her kitchen.
Other IKEA bar cabinet hacks you may like
Rachel Martino of @DreamloftStudios hacked together a speakeasy-style home bar using BILLY bookcases, LOMMARP cabinets, and a lot of ingenuity.
IKEA BRUSALI dining room bar cabinet
Andie and Pat wanted easy access to a full-service bar at home. They wanted to serve the dining room and living room efficiently. But the bar also needed to be able to hold all of their glassware and wine collections. This dining room bar hack met all their requirements.
The post How a DIYer Elevated IKEA IDANÄS Cabinets to Chic Built-ins appeared first on IKEA Hackers.