Antiquing an IKEA Dresser into a Beautiful “Vintage” French Cabinet
Antiquing is a beautiful way to give new life and personality to furniture pieces while creating a worn, vintage look. Whether you’re hoping to update a hand-me-down dresser or make a flatpack piece feel unique, distressing and aging techniques can take boring furniture pieces and make them look distinctive.
In this post, Galia K. shares her technique for antiquing furniture at home. She uses a mix of chalk paints, paint washes, and waxes to dramatically transform her IKEA furniture. By the end, her once Scandi dresser looked fit for a French chateau.
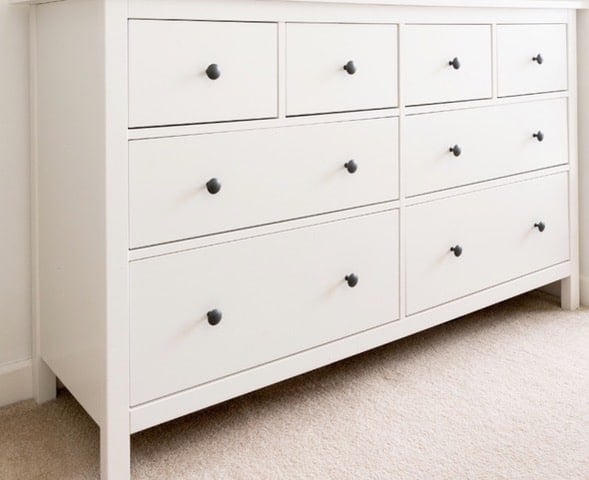
She says, “We first bought this IKEA HEMNES chest for our rented apartment as the price was reasonable. As a real wood construction, it also felt sturdier and more durable than particleboard options. It has served us well over the years.”
However, when they moved to their new home in France, the IKEA dresser looked out of place. While they wanted to keep the HEMNES, Galia felt giving it a vintage French country makeover would make it a better match for their new home’s decor. Galia knew it would be easy to use paint to create the antiquing effect she wanted, as the HEMNES was already in white like a blank canvas.
Materials:
IKEA HEMNES 8-drawer chest
Annie Sloan Chalk Paints in Old Ochre, Honfleur, Graphite, and Versailles
Black wax
Brown wax
Alaina Toile transfer from Redesign With Prima
IOD molds made with epoxy resin
Paint brushes in various sizes
Roller for chalk paint
Rags
Water spray bottle
Step by Step to Antiquing Furniture:
Step 1: Add molding
To start with, size up the design of the furniture and decide where you want to add decorative elements. Galia added molding she made from IOD molds and Epoxy Resin to the bottom of the chest. You can also get ready-made millwork from Amazon. Stick the mold onto the surface with construction adhesive.
Step 2: Apply base coat
Older furniture is never brilliant white. Apply your first coat of paint to tone down the shade of white. If you want to change the color of your cabinet, this is the time to apply your base coat. Galia opted for an old ochre chalk paint, applied with a roller for a smoother finish.
Step 3: Work the corners
Start applying a darker shade to the corners of the dresser. This would include the frame and drawers. She chose Annie Sloan’s Chalk Paint in Versailles and diluted it with water to make a very runny paint.
Step 4: Paint the molding
Paint the molding in the same shade of paint. Step back, look at the whole piece, and add paint where necessary.
Step 5: Add a paint wash
Her next step was a paint wash. She used the Honfleur chalk paint mixed with water in a 1:1 ratio. Galia sprayed the paint with water as she painted to make it even more runny. Dabbing with a wet rug, she picked up most of the paint, leaving just a shade of brown. Patience is critical, and she slowly spread it over the corners of the drawers and frame of the dresser, building up the layers.
Step 6: Highlight the molding
Brush the Honfleur chalk paint around the molds to highlight them. Dab with rag to remove excess. She then brushed the tips of the details with the Versailles chalk paint.
Step 7: Transfer the design
When the paint dried, Galia transferred her design from Redesign With Prima.
Step 8: Seal with wax
When the piece had completely dried, Galia applied clear wax to seal it. To bring the design together and give it a finished look, she added a custom-mix wax of brown and black to get the color she wanted.
Step 9: Paint the top
She painted the top in Versailles and covered it with a coat of dark brown varnish.
Step 10: Antique Gliding Wax
To further enhance the molding details and give the design more depth, Galia applied antique gilding wax to parts of the molding. She used a small brush to rub the wax onto the most prominent sections of the molding, allowing the gold undertones to peek through subtly.
And it’s done.
~ by Galia K.
Have you tried antiquing furniture before? Let us know in the comments below.
Antiquing the TARVA dresser
I used TARVA as a base. Anything from IKEA that is actually “real wood” is an excellent base to hack. This is how I antiqued it.
The HEMNES shoe cabinet goes ornamental
I needed a shoe cabinet but couldn’t find one I liked, so I used the IKEA HEMNES to create my custom ornamental shoe cabinet.
The post Antiquing an IKEA Dresser into a Beautiful “Vintage” French Cabinet appeared first on IKEA Hackers.